
Do you have a nice kitchen knife?
Please be honest with yourself before answering. You might think you have a nice knife, one your mom bought you when you moved away for college, but is it nice today? Visualize the knife in your mind’s eye, asleep in a darkened drawer, and imagine its edge. Is it sharp?
Chances are that it’s not, because you're a normal person who has many things to do, and you do not sharpen your knives for 15 minutes a week each, which is what you need to do if you want an actually sharp knife.
I, however, am not a normal person, and if you want to be more like me, and want a sharp knife and mind, I highly recommend the Bob Kramer By Zwilling J.A Henckels Knife Sharpening Kit. I paid $300 for mine in May of 2020, when we were at the height of pandemic coping and picking up eccentric hobbies. After inflation, you can buy yours today for $400.
Why should I buy this?
A properly sharpened knife is the most useful tool you can have in your kitchen, and can replace many specialized kitchen gadgets in most instances. A garlic crusher is not really necessary if you can finely and easily mince garlic with a knife. You don’t need to lose a tip of a finger in a mandoline with a sharp knife. Even some of what you do with your food processor can be done pretty quickly with a good knife, and then there’s so much less to clean.
Of course, everything you’re already doing with a knife is going to be so much easier, safer, and more fun with a sharp knife. Just imagine cutting a ripe tomato into paper thin slices with one hand. That’s clean living.
Pull through knife sharpeners are cheaper and easier to use, but they just don’t work as well. I know this because many YouTube knife guys yell about this and because any kitchen I’ve been in that uses them has dull knives. As any knife guy will tell you, they also shorten the lifespan of a knife because they remove a lot of metal, and their V shape is probably not right for your knife’s specific bevel (much more on bevels in a moment).
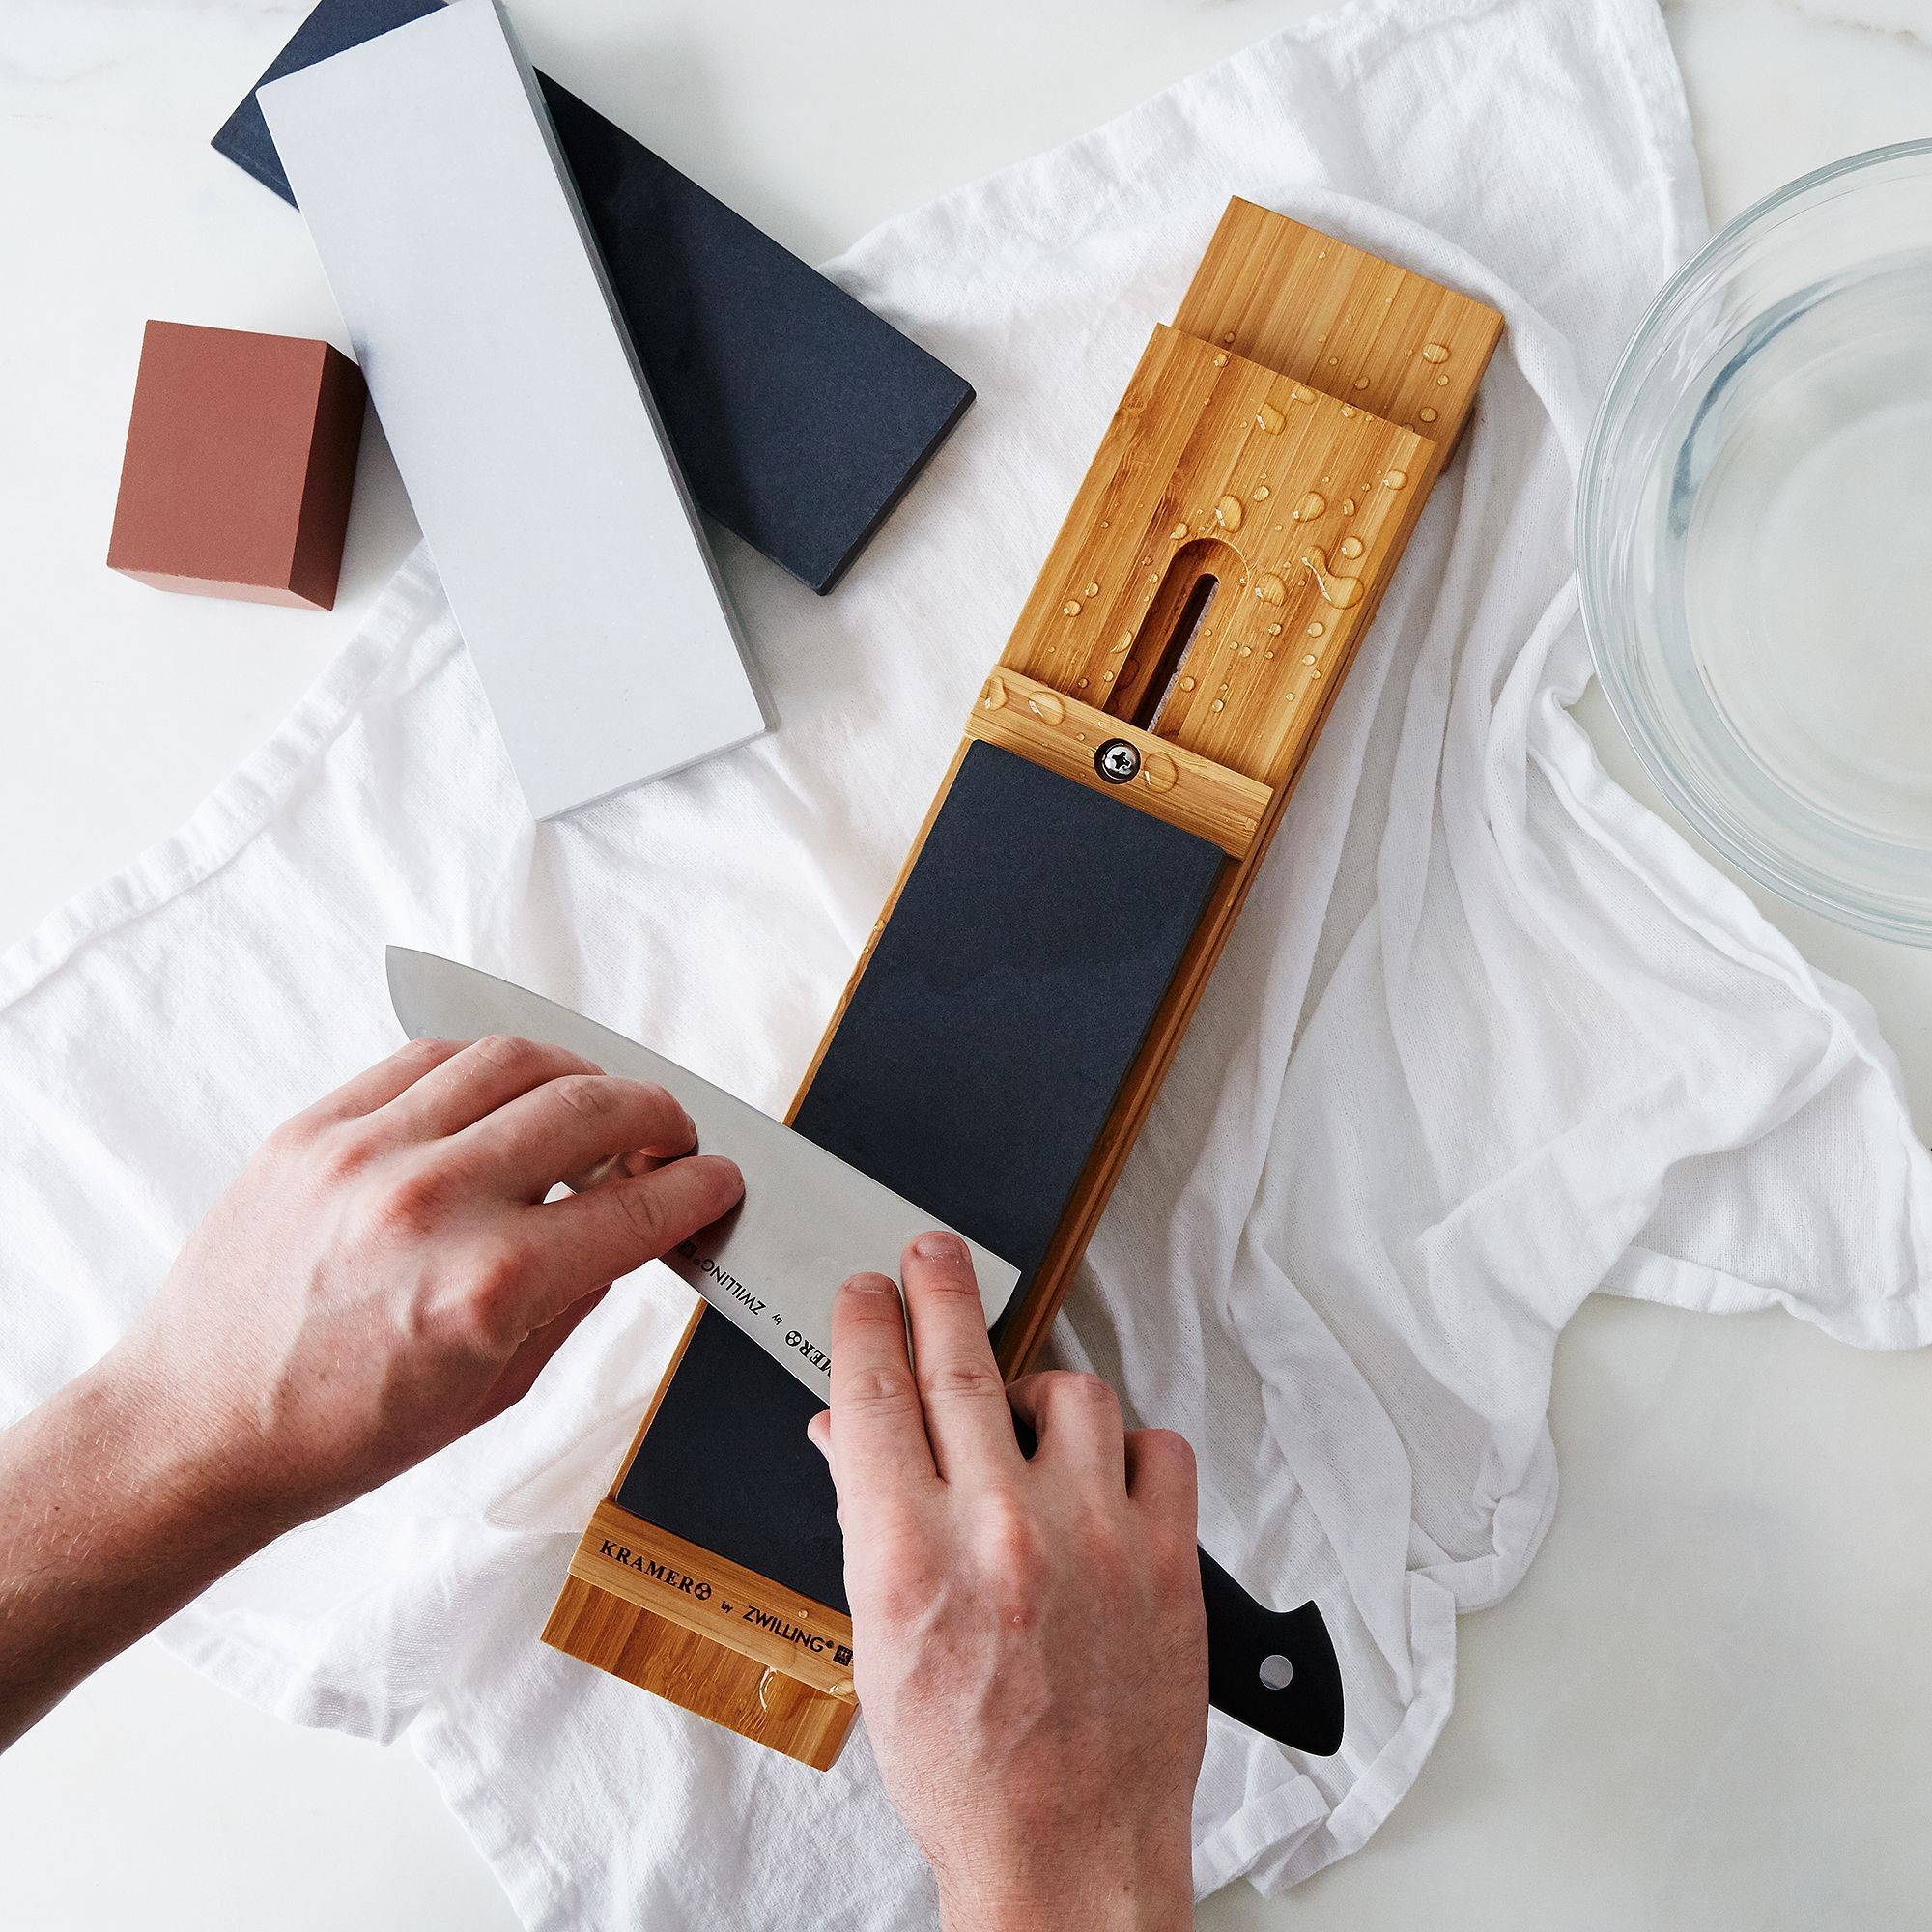
Bob Kramer By Zwilling J.A Henckels Knife Sharpening Kit, which carries the name of literal Master Bladesmith Bob Kramer, is expensive but has everything you need. It has three sharpening stones at 400, 1,000, and 5,000 grit, which you need in order to gradually strip away metal, reveal an edge, and polish it. That’s how you actually sharpen a knife. A thing dads love to do is to quickly swipe their dull knives up and down a honing rod, which looks cool, but does not sharpen a knife. It’s a great tool to have, but it realigns an already sharp edge, and doesn’t sharpen a dull one.
The kit also includes a cleaning stone to keep those other stones in shape, and most importantly to me, an “Adjustable Bamboo Whetstone Sink Bridge.” One of the most annoying things about knife sharpening is keeping the stones wet as you sharpen, and this bridge, which can fit almost any sink, makes it very easy and not as messy.
How does it work?
My turn to be honest: I barely understand. The Bob Kramer By Zwilling J.A Henckels Knife Sharpening Kit also comes with an instructional DVD where Kramer tha god himself will show you how it works. My DVD got stuck in a PlayStation 4 that by a strange chain of events is now in Berlin, but luckily for us all the video is also available on YouTube:
That video is good because it shows you how to use this specific kit, but I actually found that this Bon Appetit video does a better job of explaining the mechanics of knife sharpening, what the different stones accomplish, and what you’re trying to accomplish when you’re sharpening:
This Munchies (RIP) video is also very good at explaining technique, how to hold the knife, how to move it across the stones, and how much pressure to apply.
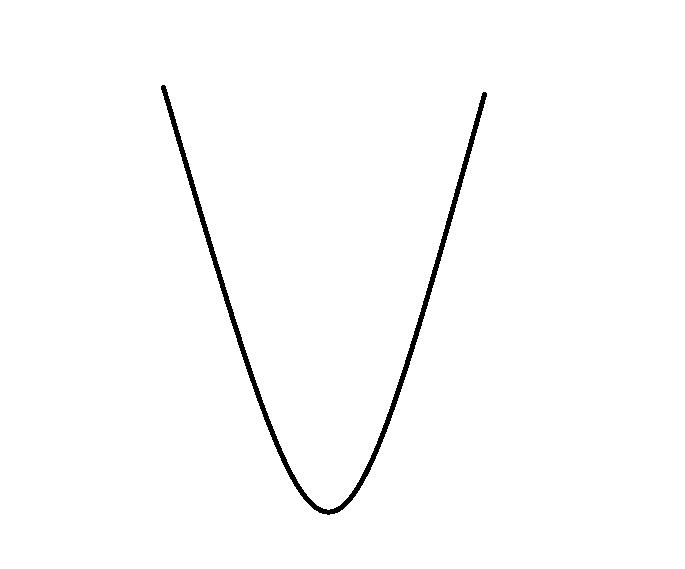
The gist, as far as I (not a Master Bladesmith) understand, is that you’re trying to remove steel from the edge to bring it to a point. When dull, the edge of your knife looks like this:
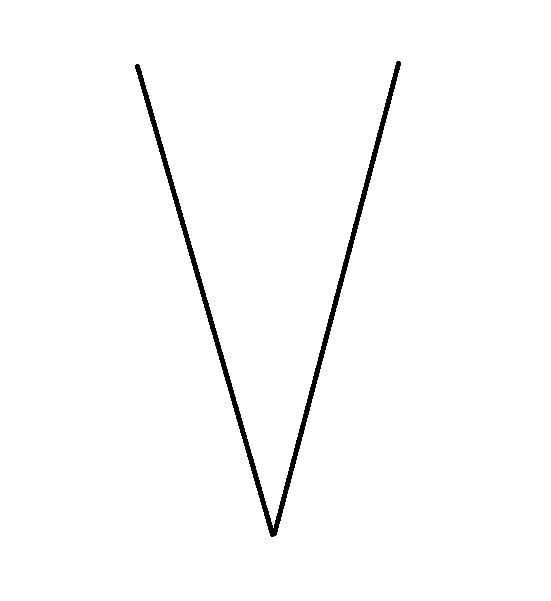
And when you sharpen you’re trying to remove the metal so it looks like this:
Obvious, but much more difficult than you’d think. After trying to do this and failing many times, the best tip I have is that you want to feel a burr, or wire edge, on the edge of the knife before moving on from the 400 grit stone. As you sharpen, at some point the edge of the knife will get so thin it will start folding over to one side.
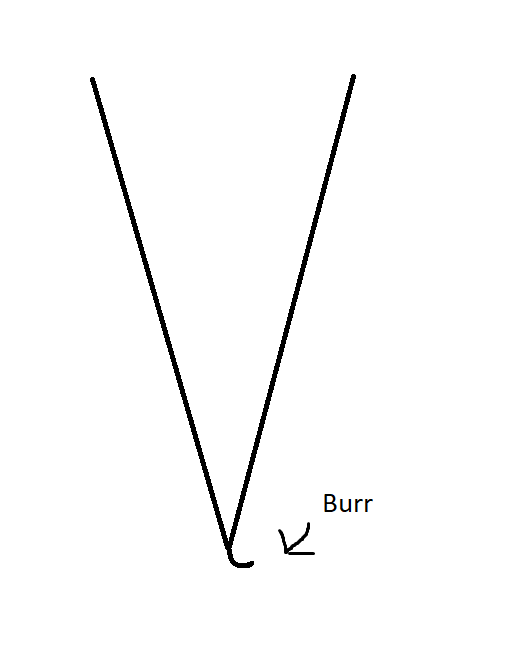
You can feel the burr with your thumb. If you feel it all along the length of the edge of the knife, you’re ready to flip it over to the other side. Once you feel it on that side, you’re ready to move on to the other, finer grit stones. Spend 10 minutes on the 1,000 grit, and just a couple of minutes on the 5,000, and you should have a really sharp edge and a fine knife.
So it’s easy?
No. It’s extremely hard. Bob Kramer makes it seem easy, but he is a Master Bladesmith. The problem is that different knives have different bevels, meaning the shape and angle of the edge, and you want to sharpen the knife at that angle. You can look up the exact angle of your knife’s bevel, but maintaining it at that angle for hundreds of strokes takes a lot of practice. Sometimes, I’ve sharpened my three good knives in 30 minutes, and then cried with joy as they each sliced through paper like a laser. Other times, I’ve spent an hour on a single knife and it would only cut a lemon if I held it at whatever wrong angle I sharpened it at.
It can be frustrating, but it’s a skill worth learning, and the best way to keep the most important tool in your kitchen working correctly.